Hub distributions
Distributions represent food leaving Surplus to reach a recipient. From a hub, you can manage both onsite pickups (recipient comes to the hub) and route deliveries (food is loaded onto a route for delivery).
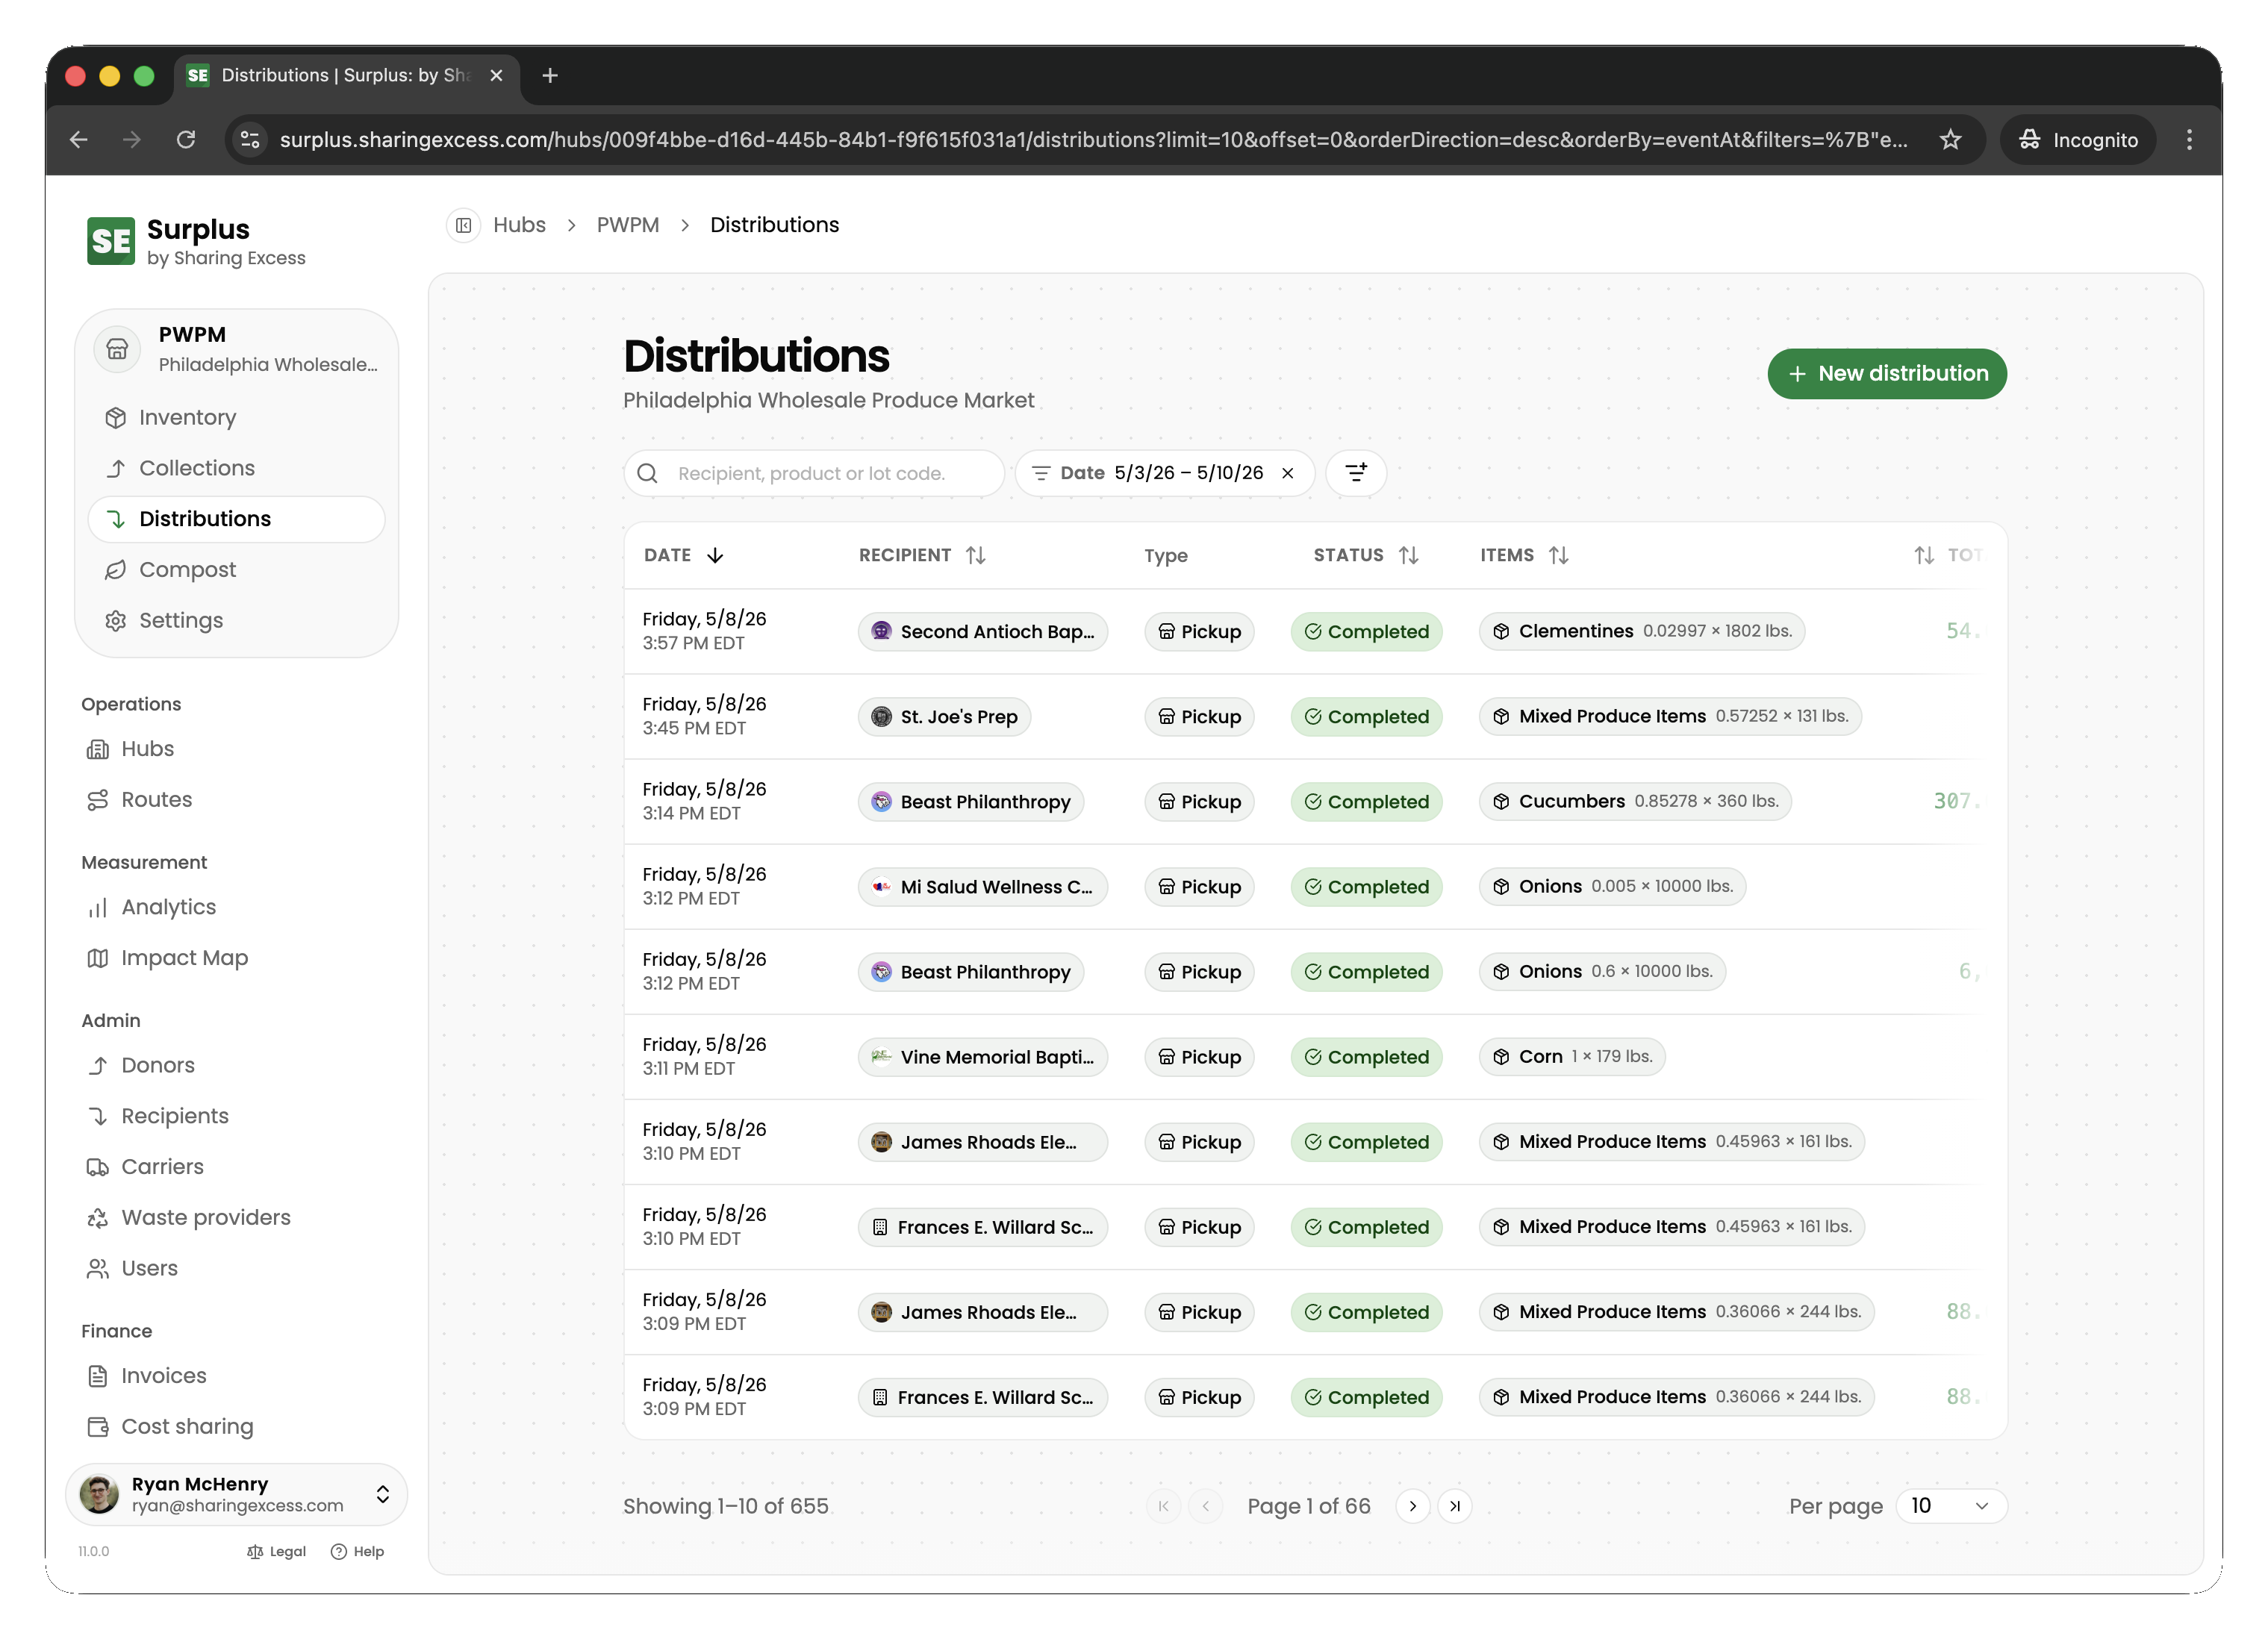
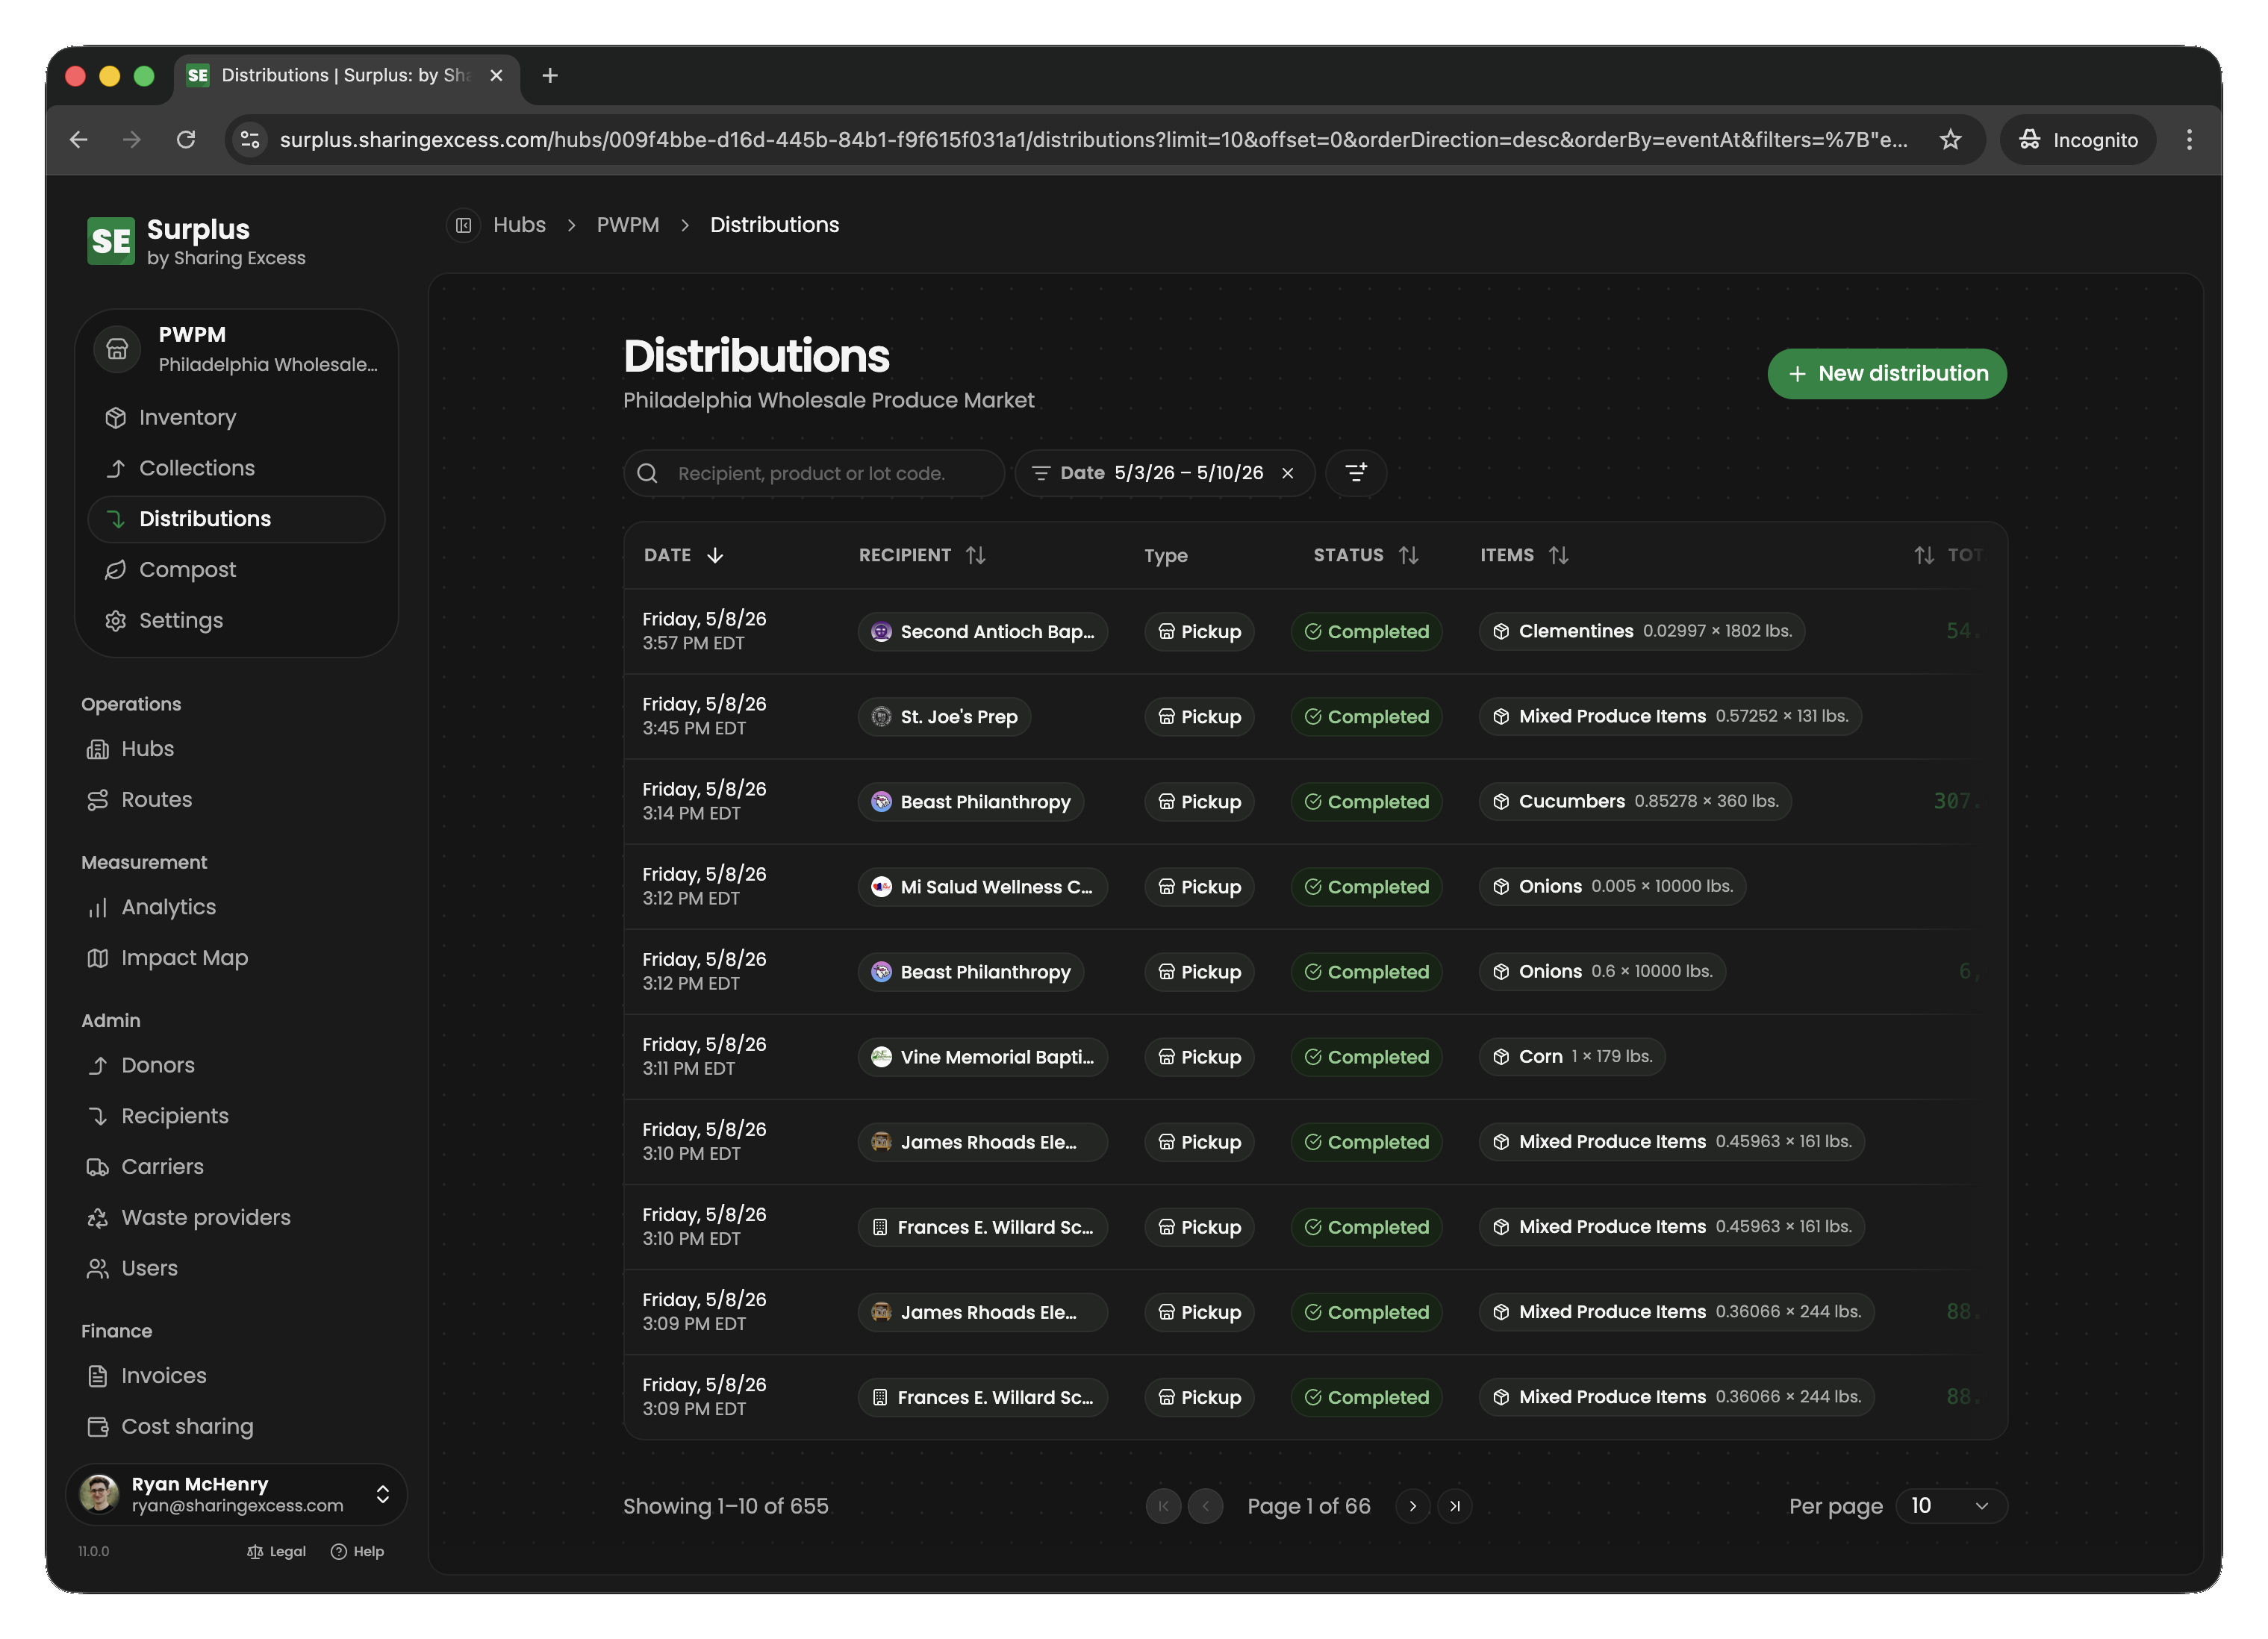
The distributions list
The hub's Distributions tab shows all distributions associated with this hub.
Allocating inventory to a distribution
Before a distribution can be completed, items must be allocated to it. Allocation reserves specific inventory for that recipient.
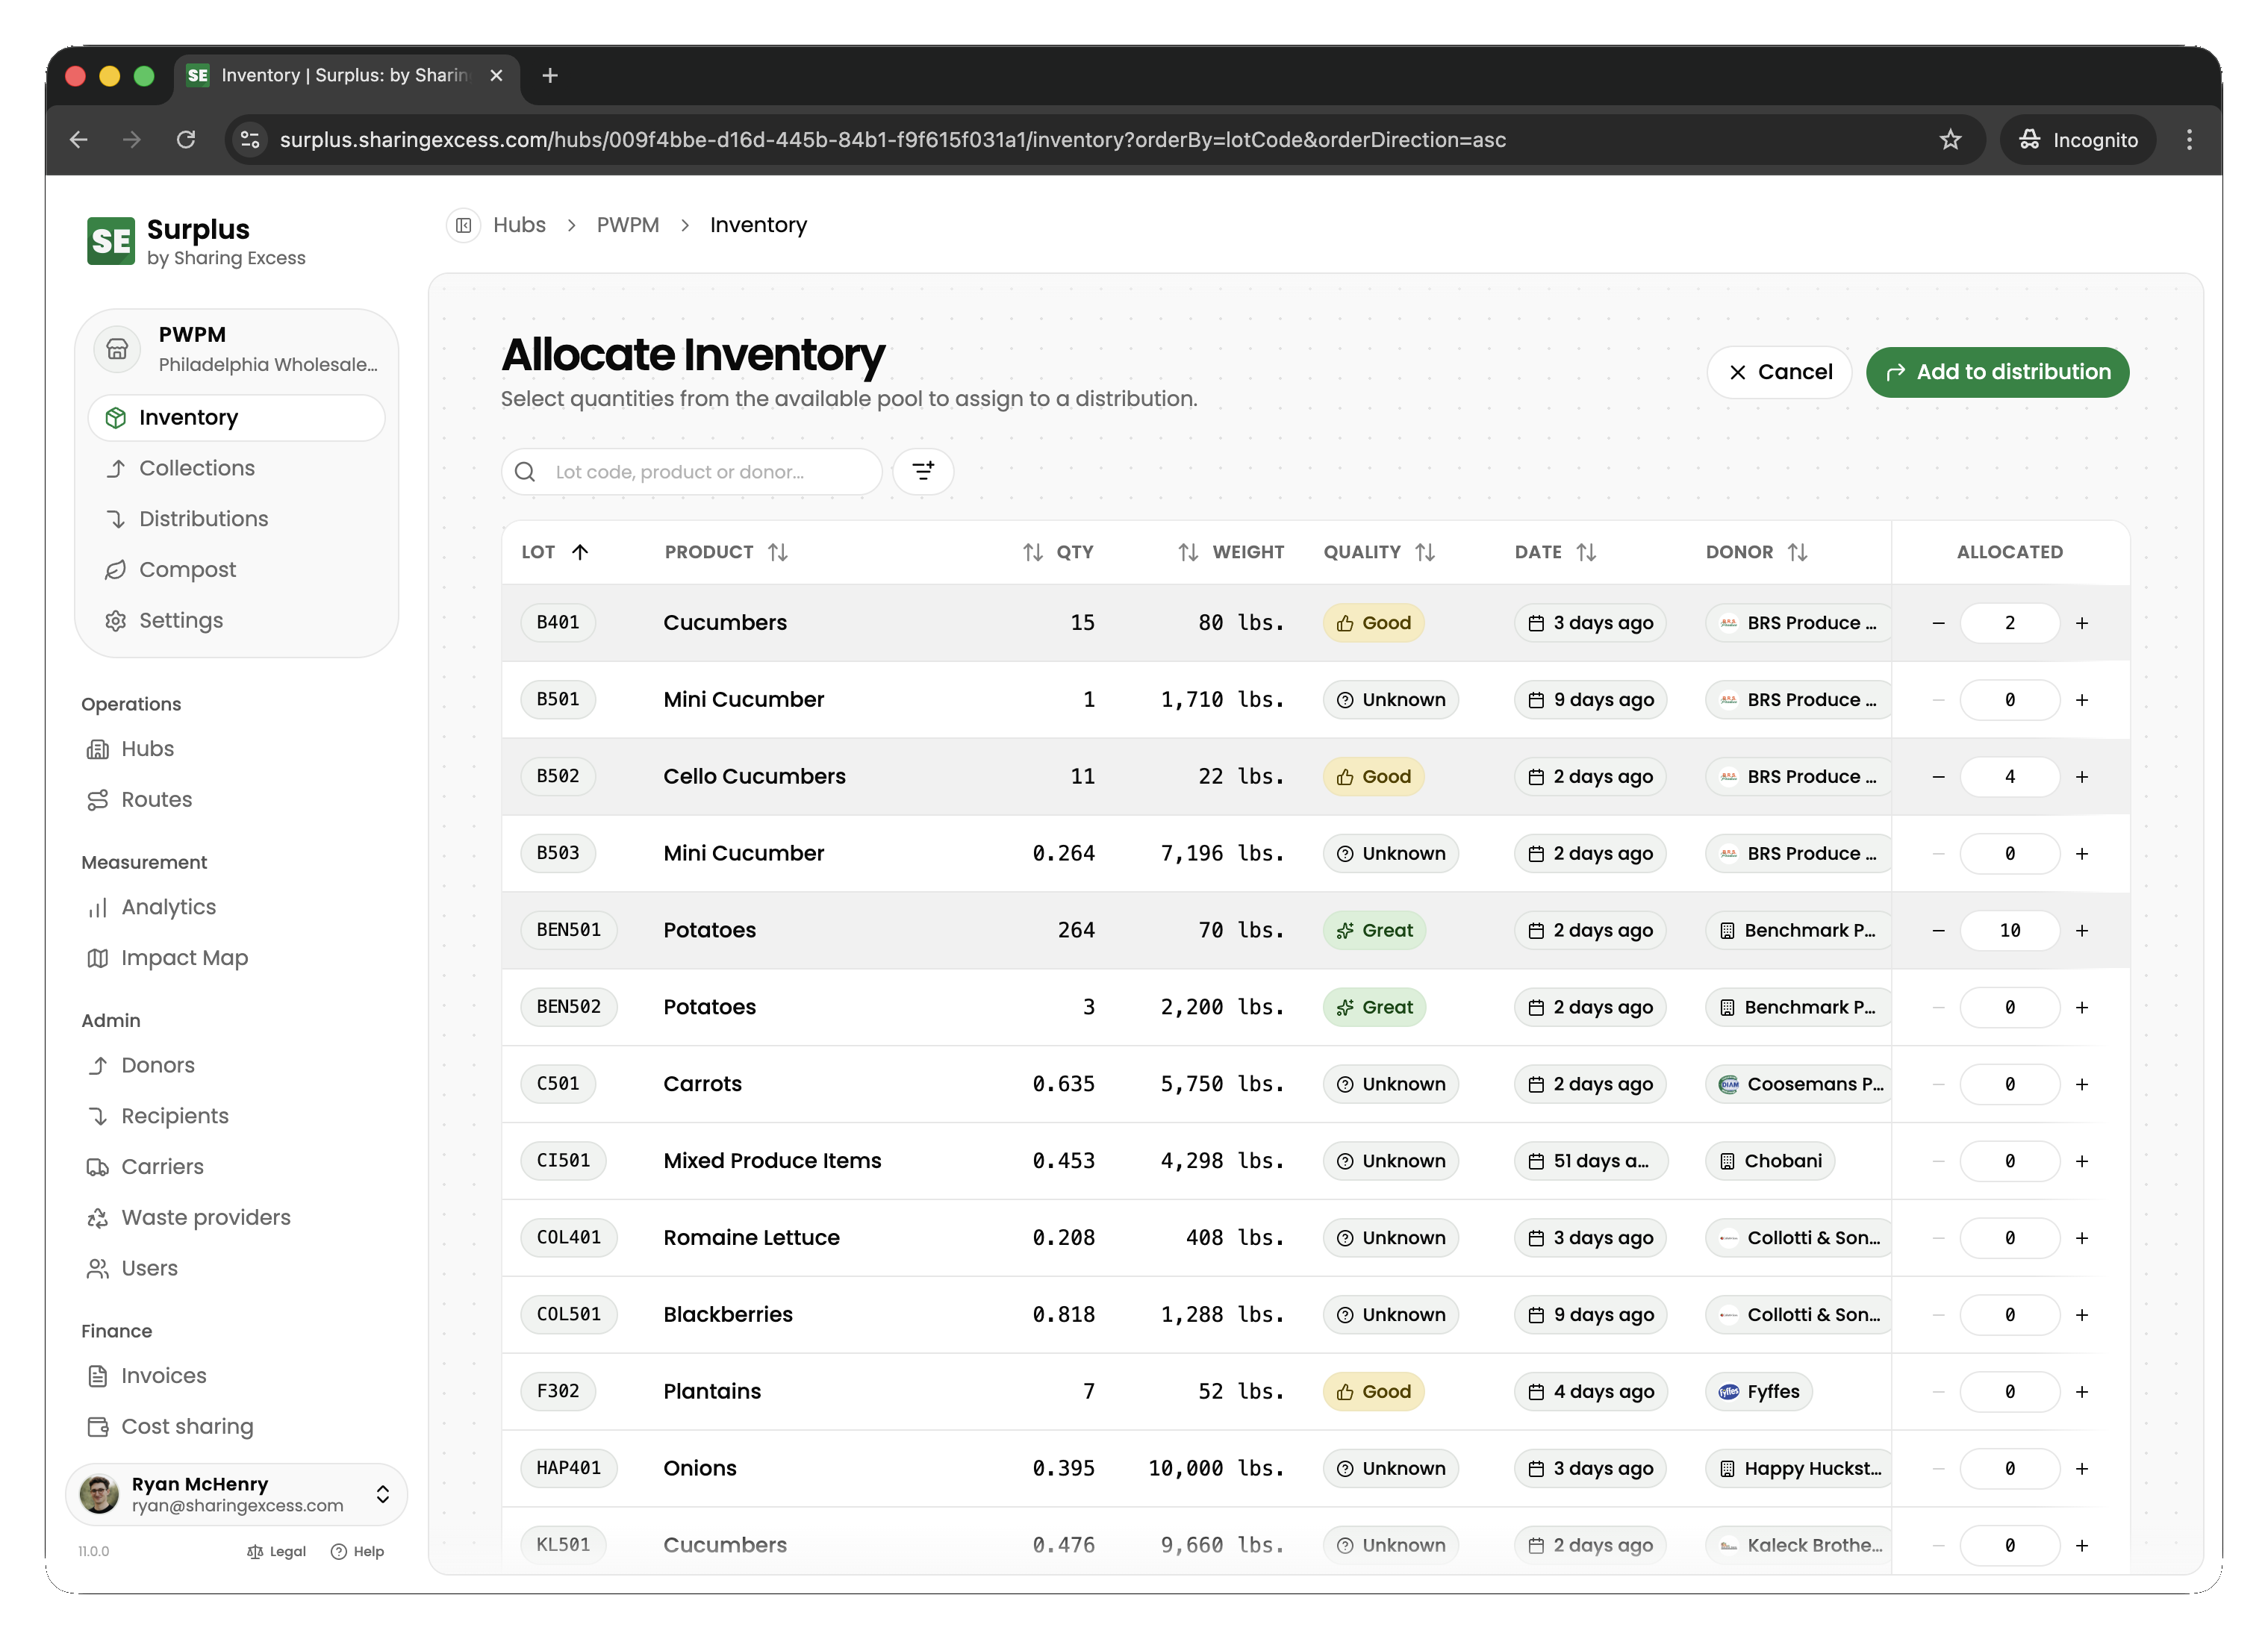
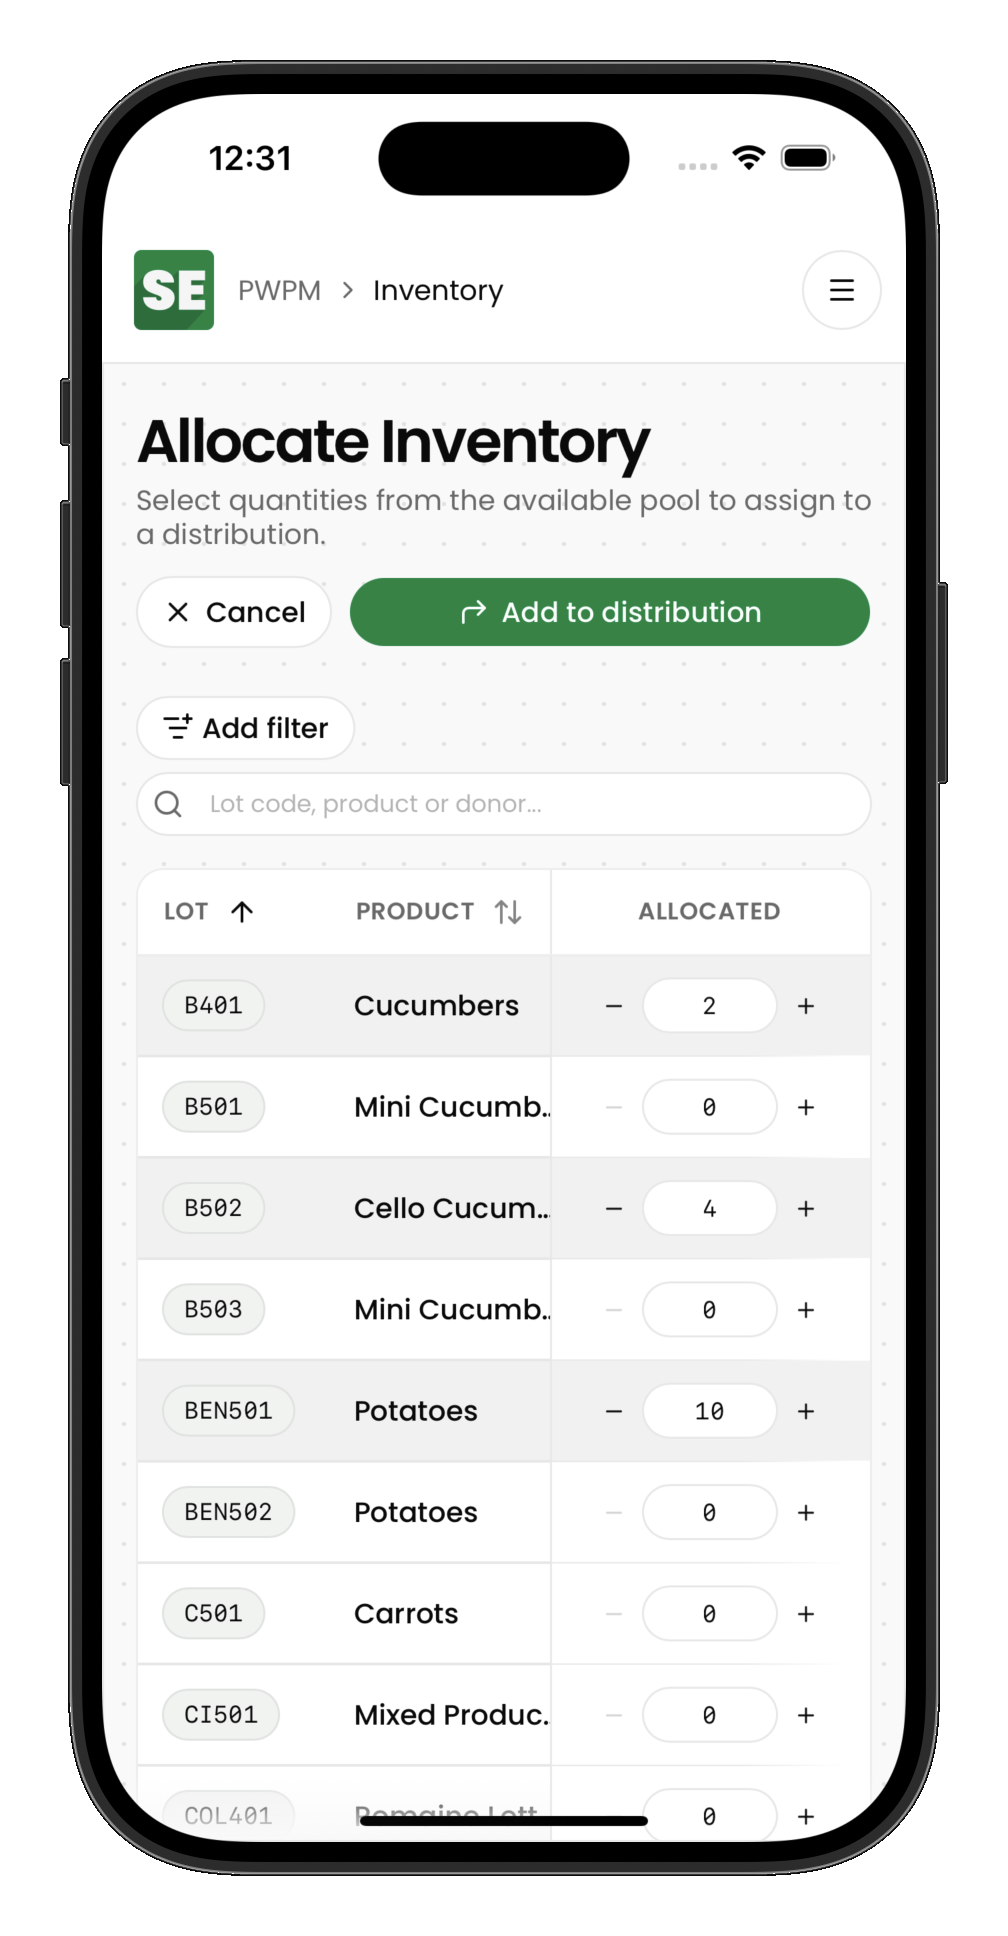
How allocation works
- Select a scheduled distribution (or create a new one)
- Choose items from hub inventory to allocate
- For each item, specify the quantity (full or partial)
- Save the allocations
When you allocate:
- Full quantity — the entire item row is marked
allocatedwith the distribution ID - Partial quantity — the item is split: a new row is created for the allocated amount, and the original row's quantity is reduced
Allocated items remain physically at the hub until the distribution is completed.
Editing a distribution
Open a distribution to manage its allocations and details:

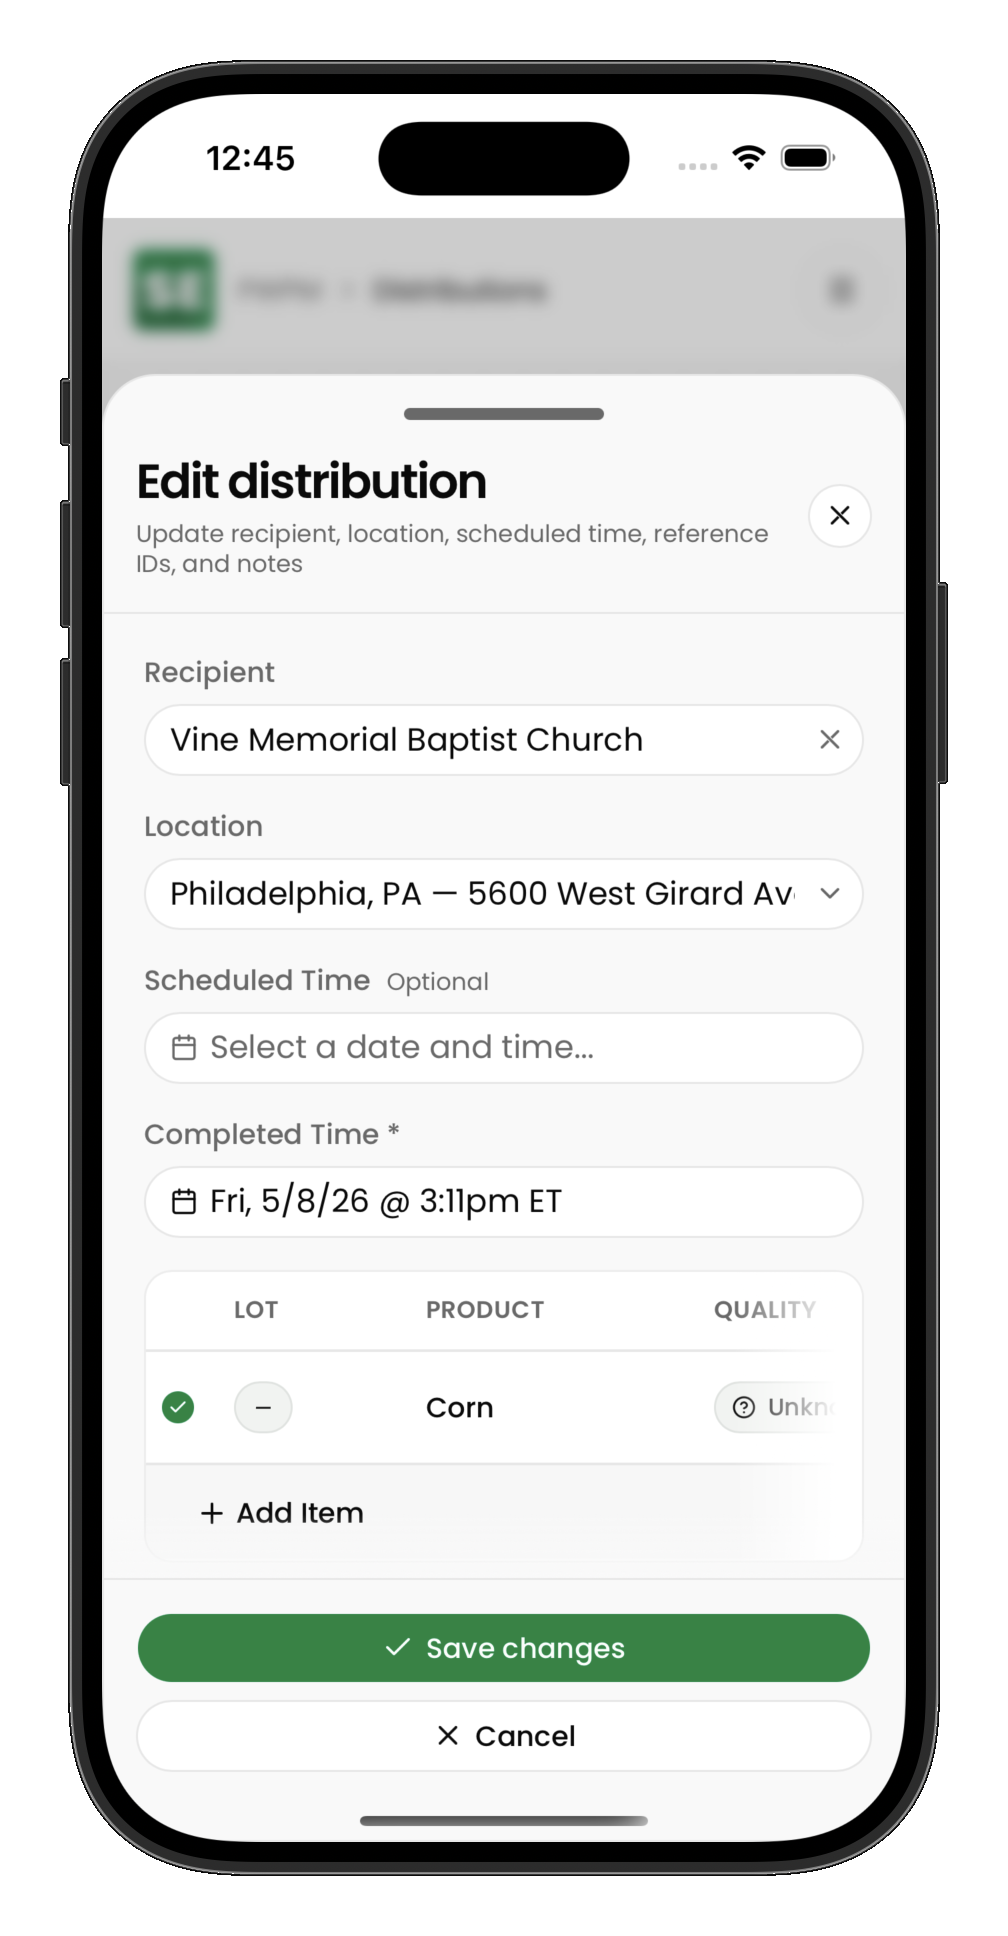
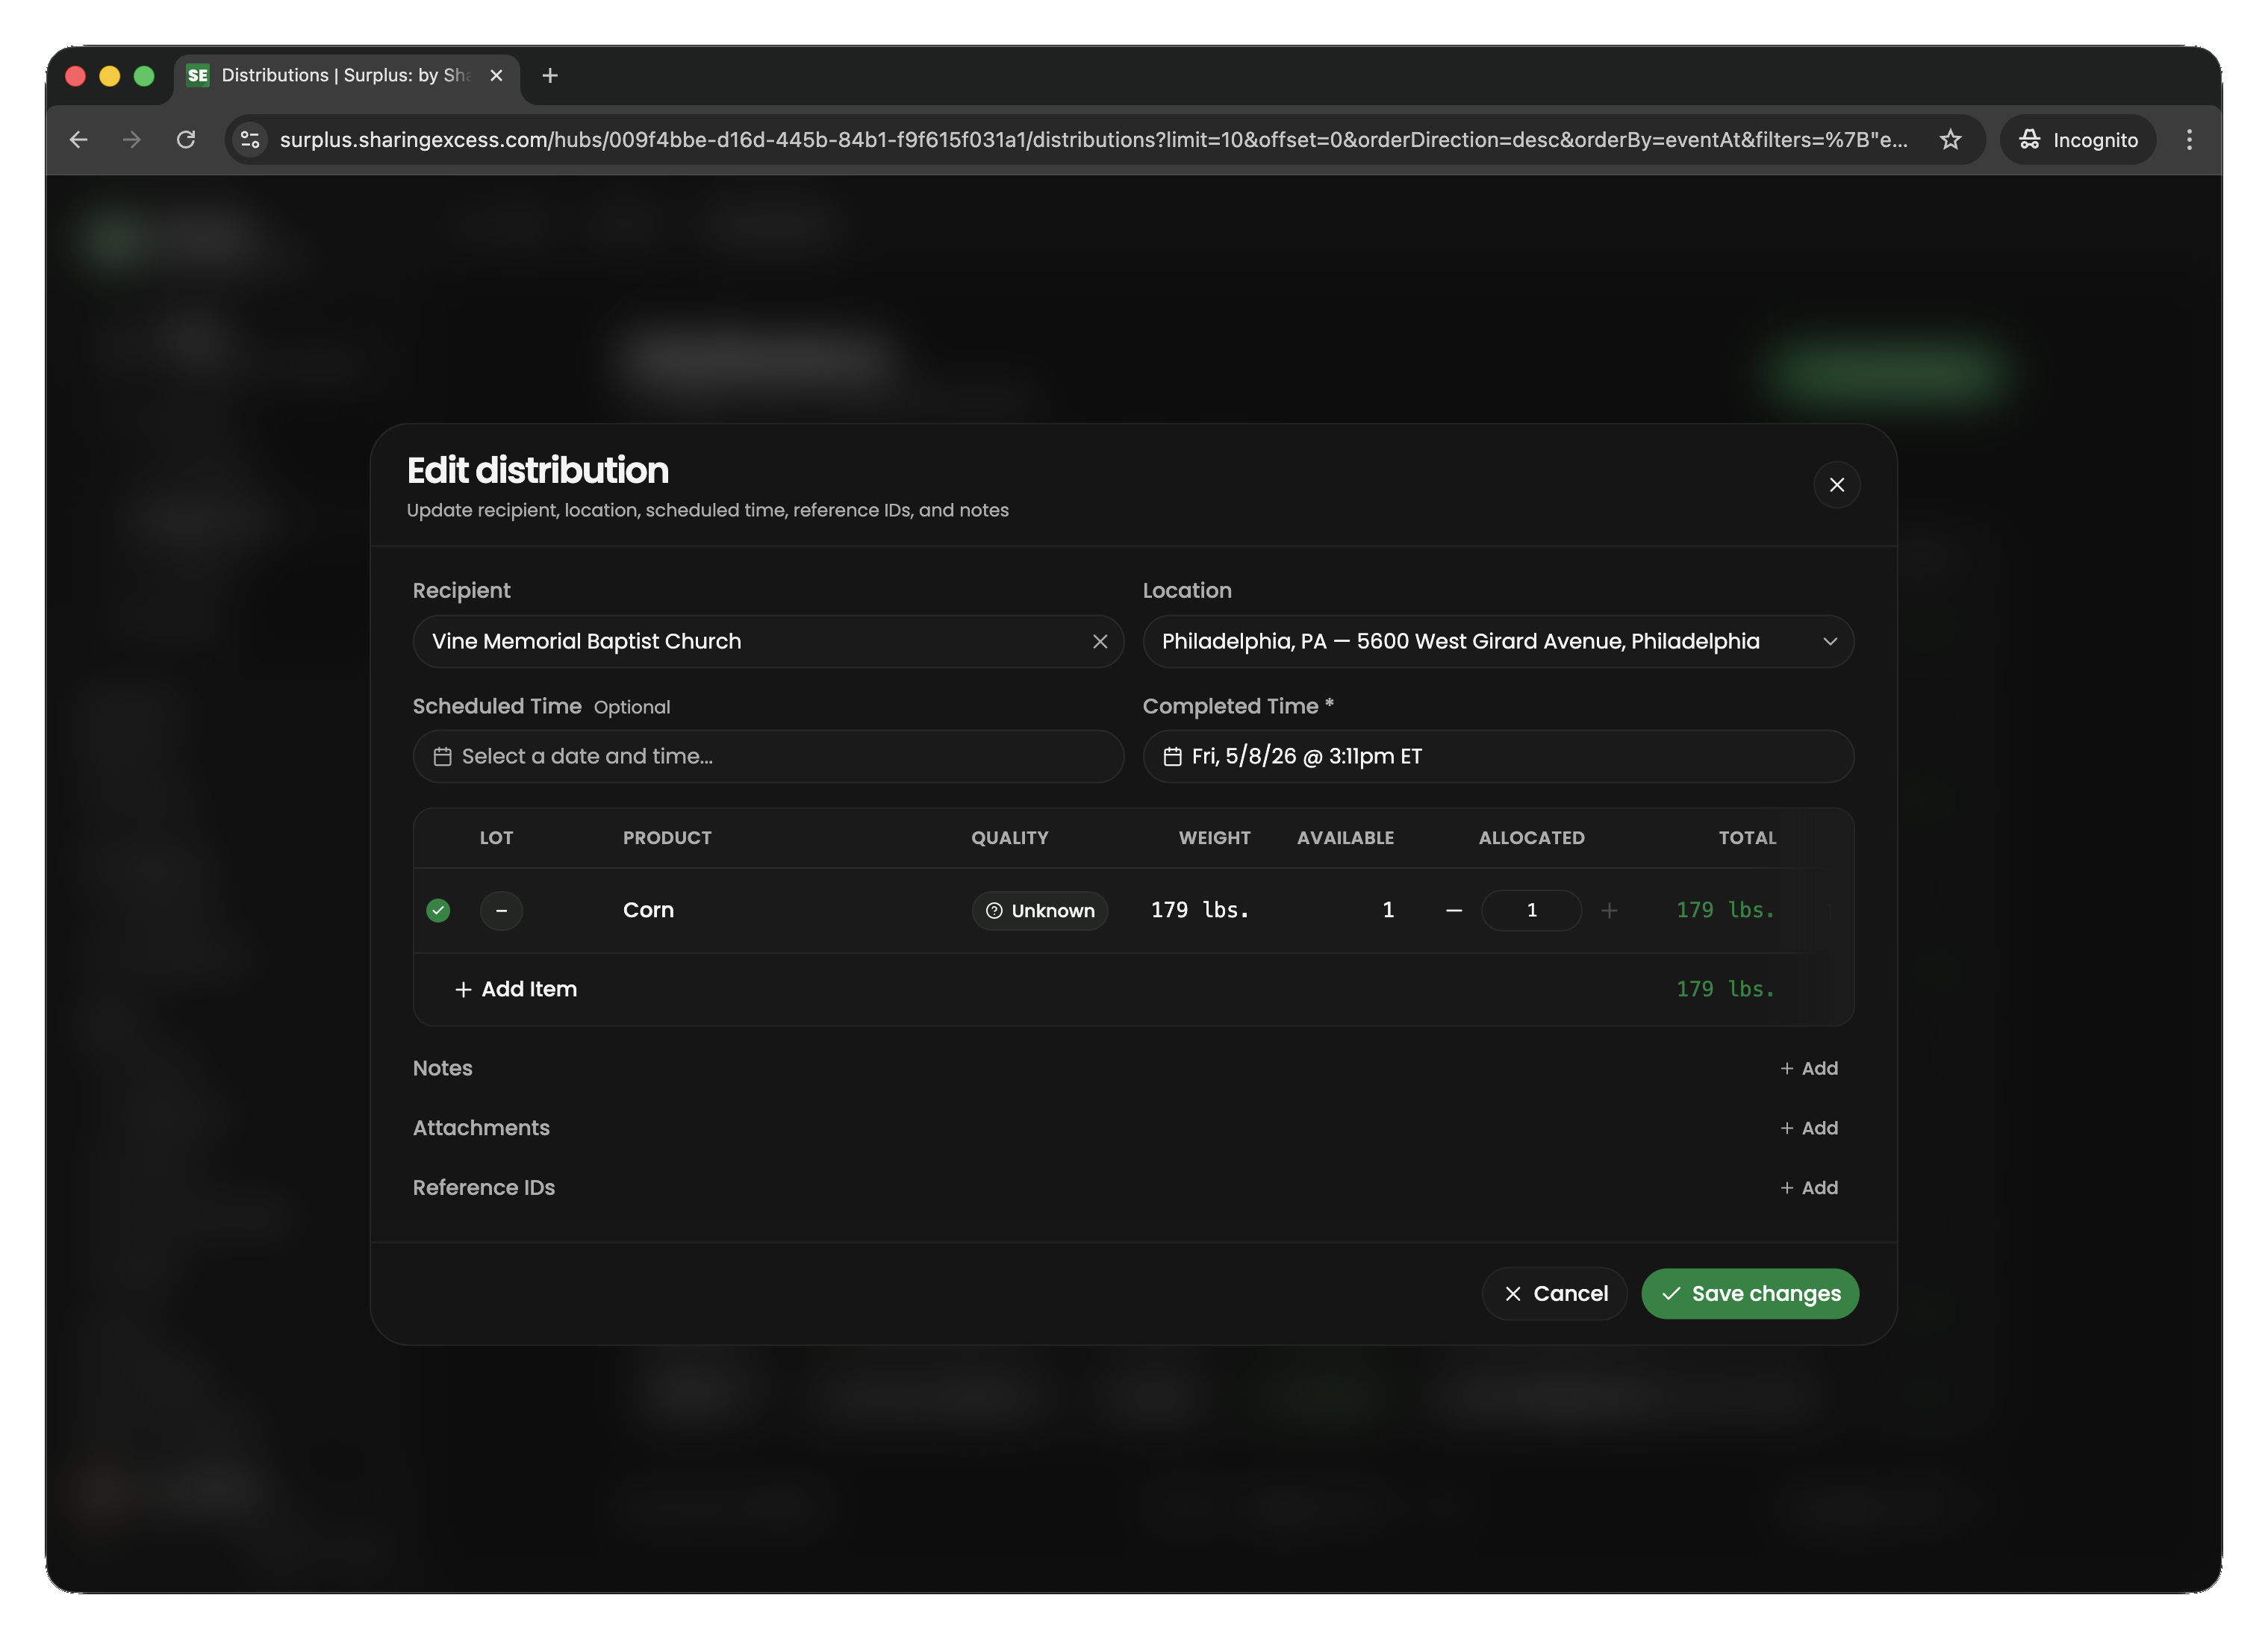
From the edit view you can:
- Add or remove allocated items
- Adjust allocated quantities
- Change the recipient or location
- Complete the distribution
Completing a distribution
When a distribution is completed (food has been handed off to the recipient):
- All allocated items transition to
distributedstatus - Their hub location is cleared (they've left the system)
- The distribution event is marked
completed - Impact metrics update automatically
Empty completions (zero items) are valid — for example, if a recipient doesn't show up and the distribution is completed as-is.
Hub-connected route distributions
For deliveries via route (not onsite pickup):
- The distribution has both a
hubId(source warehouse) androuteId - Items are allocated from hub inventory as usual
- The route must have a load stop at this hub before the distribution stop
- When the load completes, items physically move from hub to vehicle
- When the distribution stop completes, items are finalized as
distributed
This is the "load → deliver" pattern that connects hub staging to route execution.
Releasing and cancelling
Releasing allocations
To remove items from a distribution without cancelling the whole event:
- Open the distribution and reduce or remove allocations
- Released items return to
activestatus in hub inventory
Cancelling a distribution
Cancelling releases all allocations and marks the event as terminal. Use this when a planned distribution will not happen at all.
Deleting a hub-connected route distribution
For route distributions sourced from a hub, deletion:
- Releases all allocated items back to hub inventory
- Removes the route stop
- Deletes the distribution event entirely